How to physically prevent typing errors on mechanical keyboards
Copied the URL !
I think that the one thing that mechanical keyboard users go through at least once is “miss-touching” due to differences in keyboard layout.
In particular, keyboards with a tenkey-less layout, such as a 75% layout, and with special keys arranged in a single row on the right side, tend to have a lot of “miss-touches,” even if you are used to them.
This article describes how to physically prevent miss-touching on mechanical keyboards.
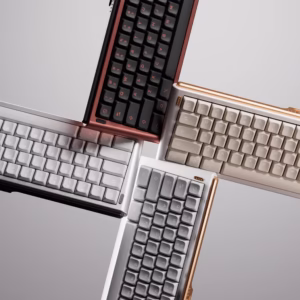
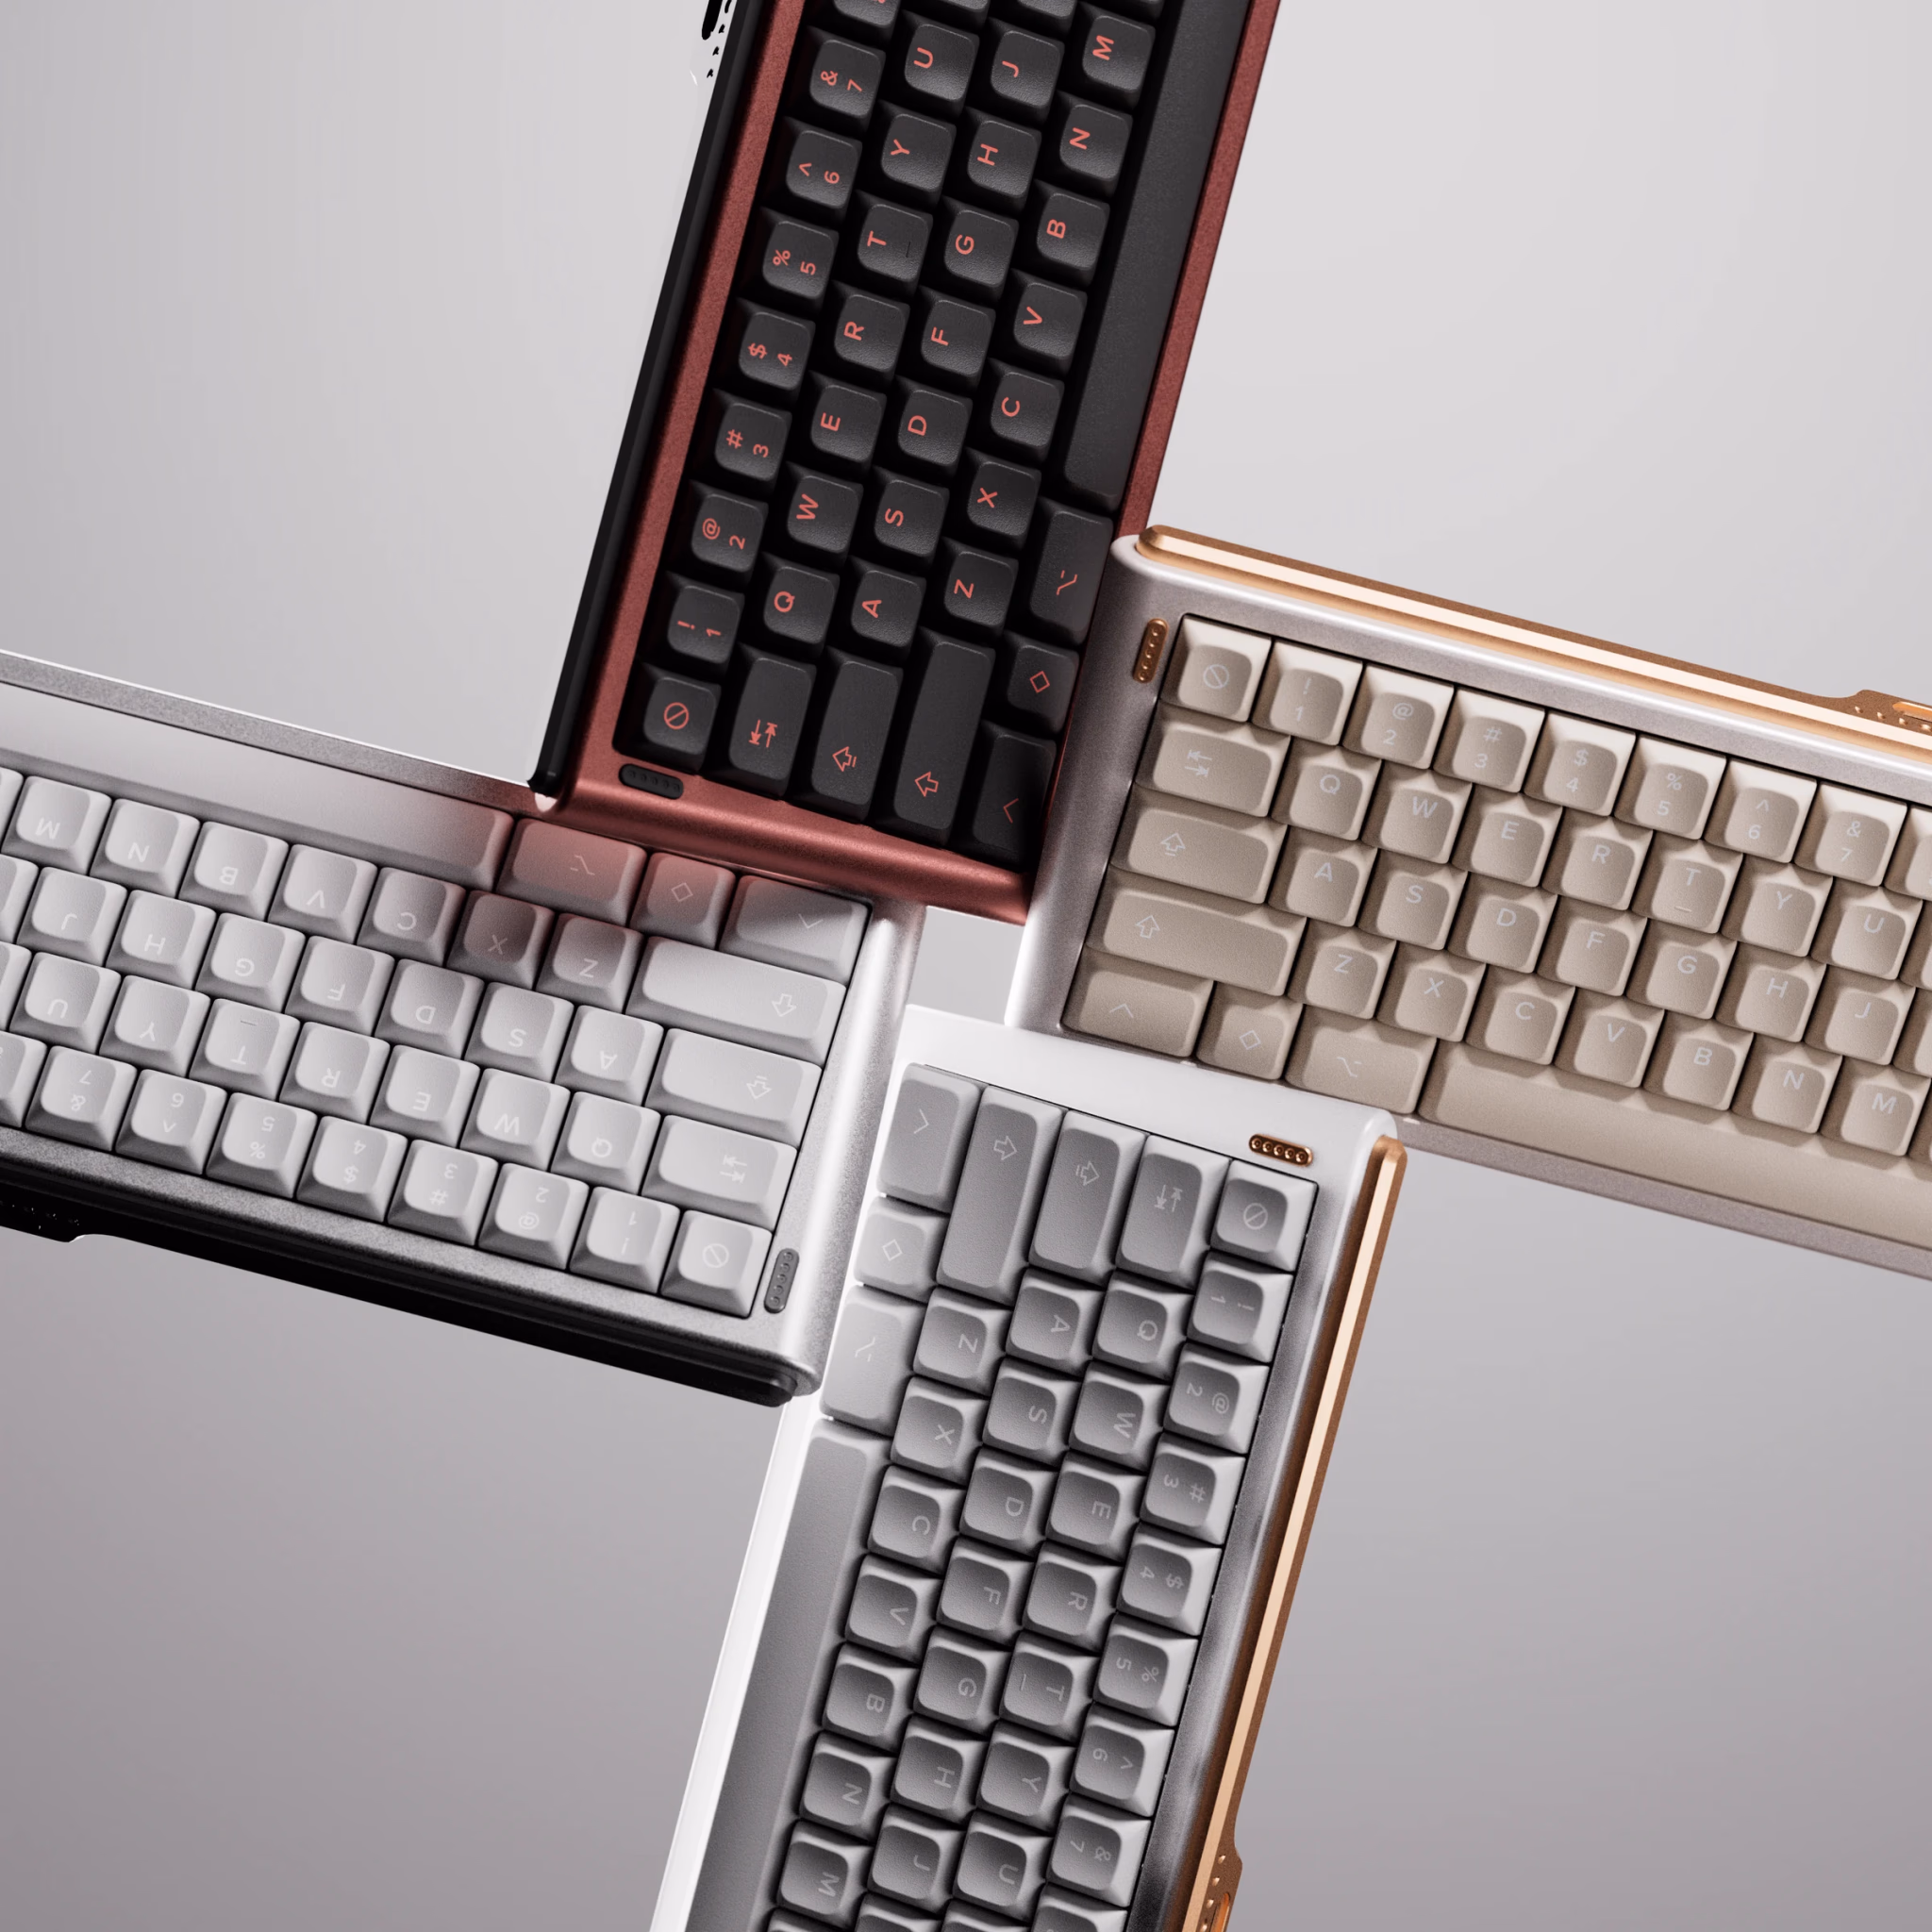
Typical example of a keyboard that would have a lot of typos and mistypes.
This is just a rule of thumb, but I believe that the keys that are frequently mistouched on mechanical keyboards are “keys that are frequently pressed with the right pinky finger.
A particularly frequent layout is the “75% layout” keyboard.
Let’s start with an example key layout.
full size (computer, e.g.)Tenkeyless ~ Compactultra compactLevel of familiarity required
Thus, the more keys that are omitted, the more keys that could not be omitted are consolidated on the right edge.
In particular, the “special keys” shown in green in the figure are placed in the right column.
If you look closely, you will notice that these special keys are located to the right of the “backspace key” and the “Enter key,” which are frequently typed.
…In short, you could say that the keys next to the “right hand pinky typing” keys are the “frequently miss-typed” keys.
And the keys that fit this criteria are limited to keyboards that are “more compact than 75% layout”.
Typical keyboards with frequent missteps are listed below.
The product is sold by “Dia Tech Corporation,” a company that sells keyboards and palm rests under the FILCO brand, and its reliability is outstanding.
However, this key lock cannot be used for low-profile key switches.
Note that the use is limited to “Cherry MX” key switches only.
In addition, note that the following keyswitches cannot be used.
Unavailable keyswitches
Keys that are not 1U in size, such as Enter /Space /Shift
ESC / Function keys Top row of etc.
Keyswitches not warranted for use
Keyboards with Cherry MX compatible key switches
→This site is for introduction only. Please understand that we cannot guarantee the operation.
One way to do this would be to take the plunge and replace the keyboard.
Although it will no longer have mechanical key switches, the MX Mini can be typed very comfortably because the function keys are not arranged on the right side and it also has function keys.
Greenkeys operates solely on performance-based advertising and does not use Google ads because they reduce usability. Please support us through Buy Me a Coffee if you enjoyed reading the article so that we can continue to operate the media.


 New Pure White Color Added to Chosfox Vero75 | Previously Unreleased Sample Color Now Available for Pre-orderThe speed of this release is impressive. On June 25, 2026, Chosfox announced ...Keyboard 3
 KBDfans “Agar Micro” Group Buy Starts June 25 | 12U Alice-Style 40% Ergo KeyboardOn June 24, 2026, KBDfans announced that the group buy for the 40% ergo keybo...Keyboard 10


 河村
河村


 Kawamura